


Inspired for an Adventure? Check out Beef Stroganoff - Pouch and Beef Stew - Pouch

How to Clean a Fish Before Cooking Step-by-Step Guide
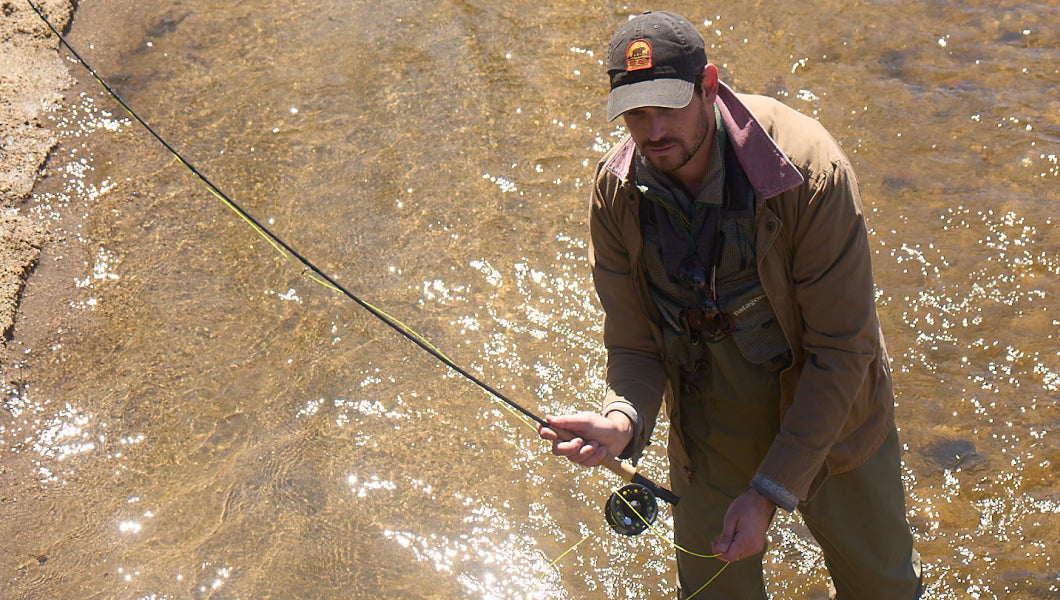
Among the joys of angling, of course, is the chance to cook up your catch. And even if you’re purely a catch-and-release angler—or no angler at all—knowing how to properly clean a fish is an excellent skill to learn if you’re interested in cooking the very freshest fish possible, in which case you’ll often be buying them whole from a fishmonger (or right off the boat).
Cleaning a fish quickly and thoroughly ensures the best-tasting end result and avoids contaminating the flesh. Removing guts, gills, blood, and scales prevents distasteful flavors and lessens the chance of spoilage.
Below, we'll break down how to prepare fish ahead of the actual cooking process. Bear in mind there are differences in the cleaning methodology depending on the type and size of whole fish you’re dealing with. We’ll get into just a few of those differences, but overall this is going to be a general, barebones introductory guide.
Freshness Window
The sooner you can thoroughly clean a fish, the better it will taste. The best way to keep fish fresh after catching is to bleed them out after humanely killing/stunning them. A bled-out fish can be stored on ice in an insulated, draining cooler or refrigerator for 24 hours or more.
Ungutted fish won’t keep as long as gutted fish, on account of the bacteria within the organs. You can definitely freeze a gutted fish but bear in mind you’re going to lose flavor over time.
What You’ll Need
The following is a list of basic tools that are handy for cleaning fish.
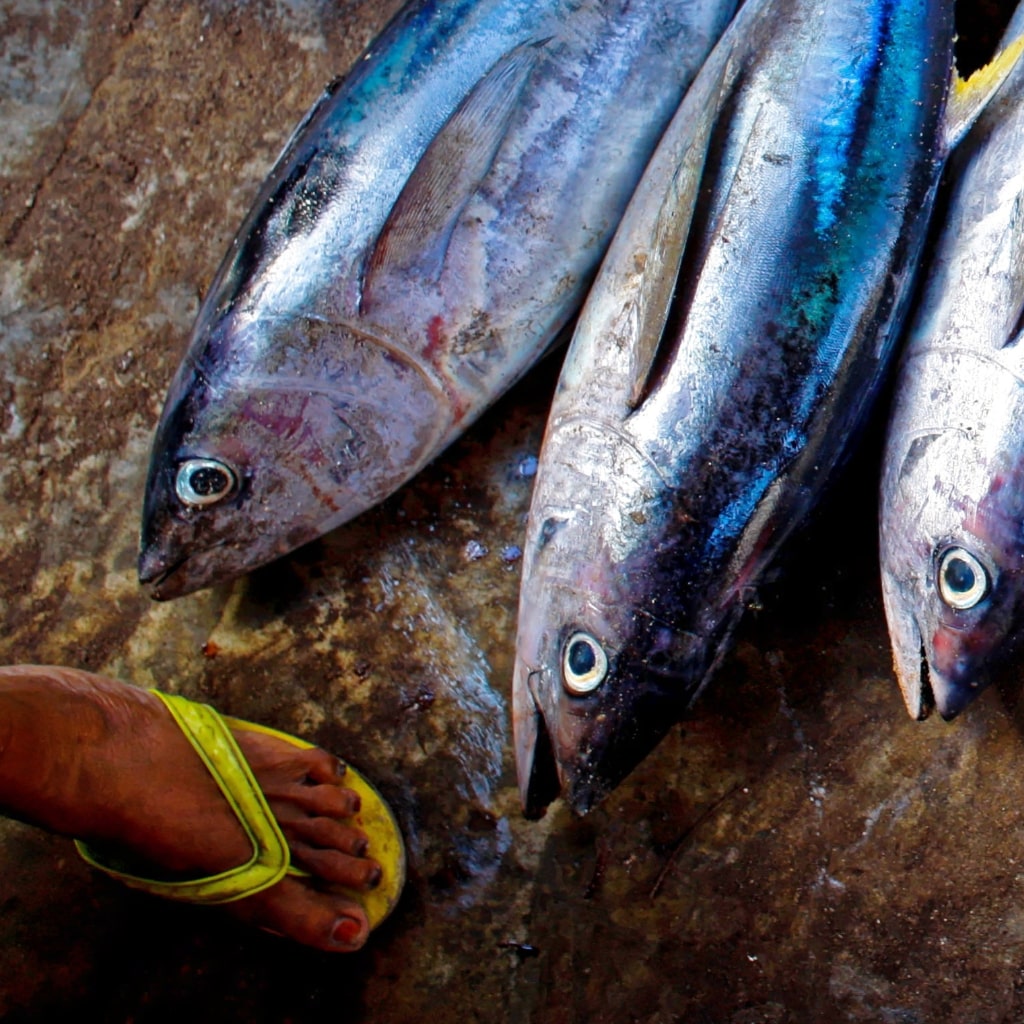
- Fresh Fish: Obviously! If you’re acquiring the fish from somebody else, assess its freshness by smelling it (if there’s too much of a “fishy” odor, it’s not fresh), checking for sliminess, and confirming bright red gills and clear eyes.
- Clean Station & Clean Cutting Board: Clean and sanitize your work surface with a bleach solution before prepping your fish, whether you’re working on deck, at a designated fish-cleaning station, on a picnic table, or in a home kitchen. (Also, make sure any temporary storage vessel for your fish, such as a cooler, is thoroughly cleaned and sanitized.)
- Newspaper: If working outdoors, have multiple pages of newspaper (or plastic sheeting or other analogous material) to keep your workspace as clean as possible and easily wrap up discarded bits.
- Descaling Tools: A spoon or knife (dull-bladed or with a blunt bridge) works well for descaling, though you can also acquire a specialized scaling tool (a scaler) for the purpose.
- Sharp Knives: You’ll need a good sharp fillet knife for cutting away unwanted parts and gutting your fish. (Kitchen shears also come in handy for snipping away fins or cutting bones.) If you’re working on a fair number of fish, have a knife sharpener handy, too.
- Gloves: Some prefer wearing gloves when gutting and otherwise cleaning a fish. Protective fish-cleaning gloves are a good idea when handling species with sharp fins, spines, or scales.
- Clean Running Water: You want running water on hand to wash off scales, blood, and other material and to clean out a fish’s body cavity.
- Container for Guts, Fins, etc.: You need a container—a bucket, bag, or trash receptacle—to properly dispose of viscera, scales, fins, heads (if discarding), and other material.
8 Fish Cleaning Steps
The following steps provide the basic foundation for cleaning and gutting freshwater and saltwater fish, whether on a boat, at the dock, or back home.
Step 1: Bleed the Fish
Bleeding out your fish after catching it ensures better flavor. Most importantly, humanely stun or kill the fish directly after removing it from the water by delivering a strong blow to the head above the eyes or using the spiking method to penetrate the brain.
Cut the gills to allow the fish to bleed out. Placing the fish in water will facilitate easier flow.
Step 2: Prepare a Cleaning Station

Clean and sanitize your work surface, whatever it may be, and clean your tools. Lay out a few layers of newspaper atop your cutting board or tabletop. Have your source of clean water and your bucket, bag, or other disposal container near at hand.
Step 3: Remove Fish Scales & Rinse

Depending on the kind of fish and your cooking plans, it may not be necessary to descale your fish. However, it’s often the best way to go (not least because descaling can make handling and cutting into the fish easier).
How to descale a fish? Pretty easy-peasy: Run the back of a knife (or a dull blade), a spoon, or a scaler from the tail toward the head, repeating as necessary to get as many scales off as you can. Turn the fish over and repeat the process on the other side. Wrap up the scraped-off scales in your top layer of newspaper, and rinse off the fish (and your hands and tools).
Step 4: Remove the Entrails
Beginners may balk at learning how to gut a fish, but it’s actually an easier and quicker task than you might think.
Turn the fish belly up and insert your sharp knife into the anal vent. Draw the blade toward the head with a shallow incision, taking care not to cut too deeply and thereby risk puncturing the intestines. Stop your cut around the jawline.

With some smaller fish, such as trout, you can often then run your knife through the slits along the sides of the lower jaw, then cut through toward the front of the fish. Then grab the jaw in one hand and the flap you’ve made near the gills and pull the latter down toward the tail in a swift motion, which should extract most of the entrails as well as the gills in one fell swoop.
Otherwise, after making the vent-to-jawline cut, simply open the fish up and pull or scoop out all of the guts. Make sure to scrape out the kidney and bloodline running along the backbone.
Step 5: Trim/Remove the Fins (and, Perhaps, the Head)
Cut off or trim the dorsal and other fins. You may or may not want to remove the fish’s head, which can be done by cutting through right behind the gills or the pectoral fins at 45-degree angles on either side.
With some fish—trout, for example—you’ll usually leave the head on for the cooking process. If so, cut out the gills (if you didn’t already remove them via the gutting process).
Step 6: Rinse & Pat Dry

Rinse off the fish with cold running water, inside and out, to remove remaining blood, entrail bits, and remaining scales. You shouldn’t need excessive amounts of water for getting the abdominal cavity to run off clear. Then pat the fish down dry with a paper towel.
Step 8: Cook & Enjoy
You might be cooking that beautiful fish of yours whole: as in butterflied, pan-fried trout. Or you may want to prepare fillets (also remarkably easy to do once you get the hang of it) or, in the case of a larger, meatier fish, carve out steaks. You may or may not be skinning your fillets or steaks.

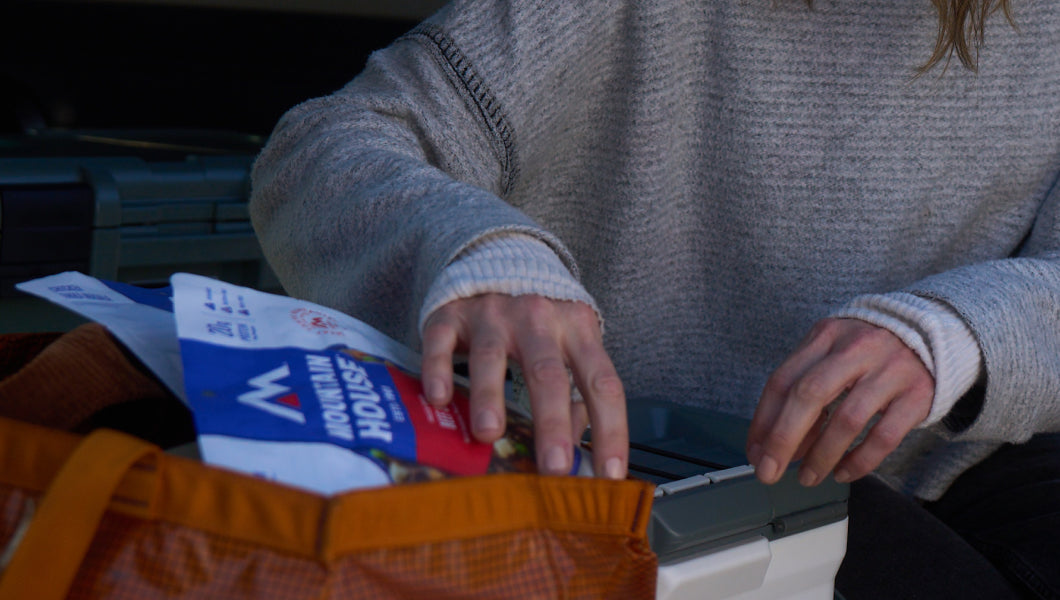
Regardless, there’s certainly a whole galaxy of methods for cooking delicious, couldn’t-be-fresher fish. There’s not much better than a fresh catch cooked over a campfire—or, as you can learn more about in this ingenious hack, in one of our Mountain House pouches, no fire required!
A Couple of Tips on Cleaning a Flatfish
The above steps describe the cleaning process for your average roundfish. If you’re dealing with a fresh-caught flounder, sole, halibut, or other flatfish, gutting is done a little differently. The bulk of a flatfish’s entrails will be behind and near the gills, removable by cutting a relatively short slit in the slightly bulged body cavity and then pulling out the innards or simply cutting out that cavity in a chunk by slicing around it from the gills.
You can certainly scale your flatfish, though if you plan on skinning the filets, you don’t necessarily need to.
Cleaning Fish: Part of the Angler’s (and Chef’s) Essential Skillset
It takes longer to explain how to clean a fish properly than to actually do it. Mastering the art is, when all’s said and done, simple. Just be sure to commence the cleaning process as quickly as possible and abide by regulations (and basic etiquette) when disposing of guts, fins, scales, and other residuals.
And speaking of quick and easy, don’t forget to stock up on just-add-hot-water Mountain House meals for your next fishing trip!

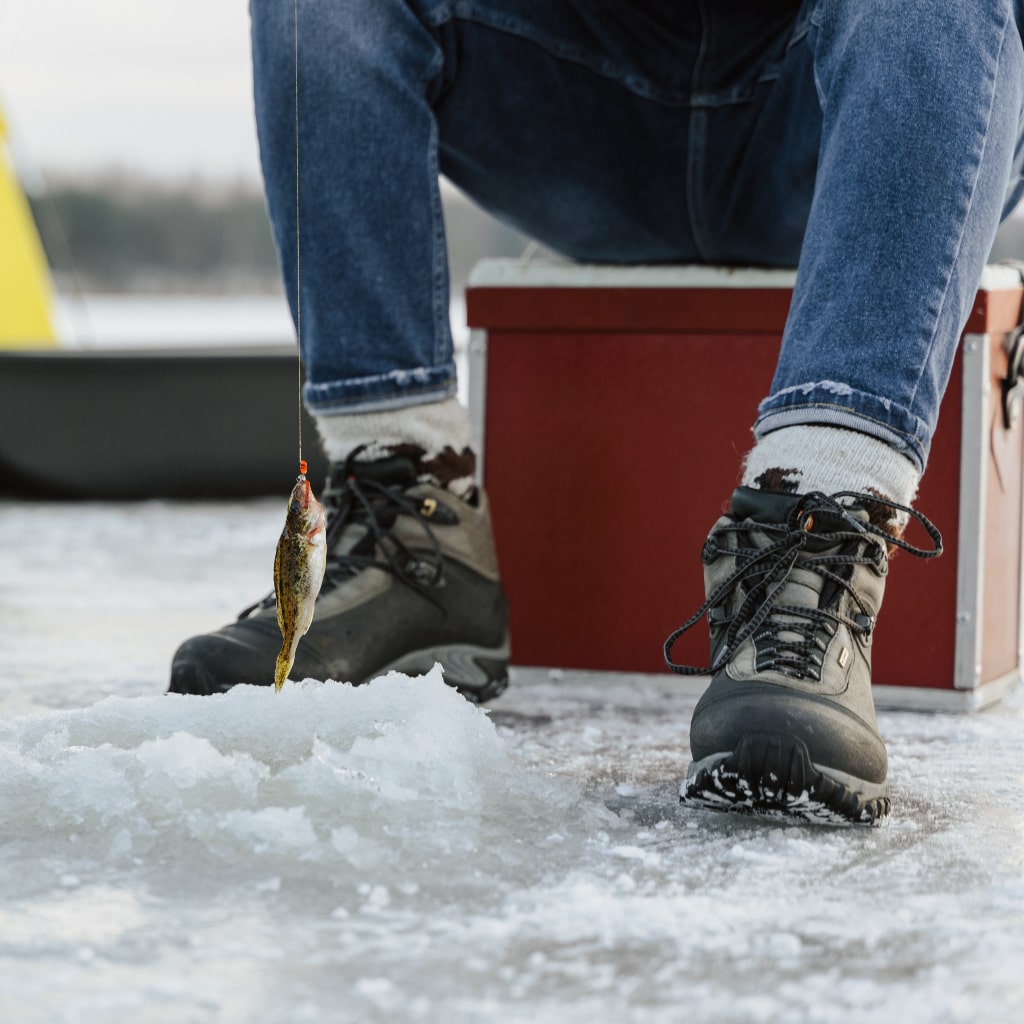
Best Ice Fishing Lakes in the United States for Anglers
Those who’ve embraced ice fishing don’t only get to expand their angling season year-round: But they also get to experience this one-of-a-kind pastime’s utterly unique charm, w...
Read more

13 Most Popular Game Fish of North America for Freshwater & Saltwater
From marshy backwaters and iced-over lakes to clear cobbly mountain rivers, from tidal flats and murky bays to the wild blue outback of the offshore ocean, anglers in North Ame...
Read more


Join the adventure


©2024 Mountain House — All Rights Reserved.