AE86 Toyota Corolla Rally Car Build...
 Jul 9, 2009, 03:45 PM
#16
Newbie
Thread Starter
Join Date: Jul 2009
Location: Woodinville, WA
Posts: 30
Likes: 0
Received 0 Likes
on
0 Posts
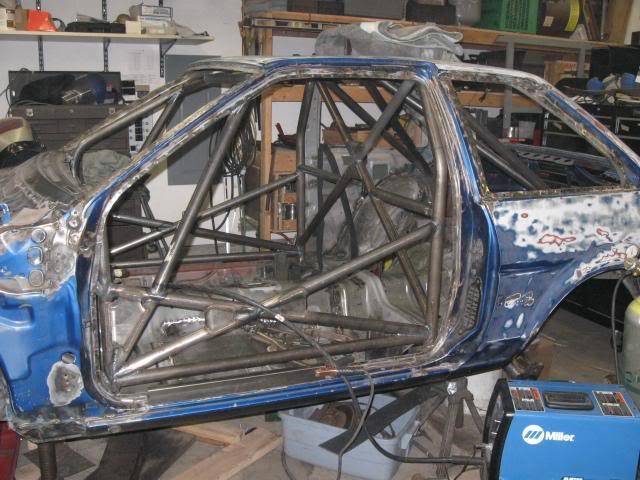
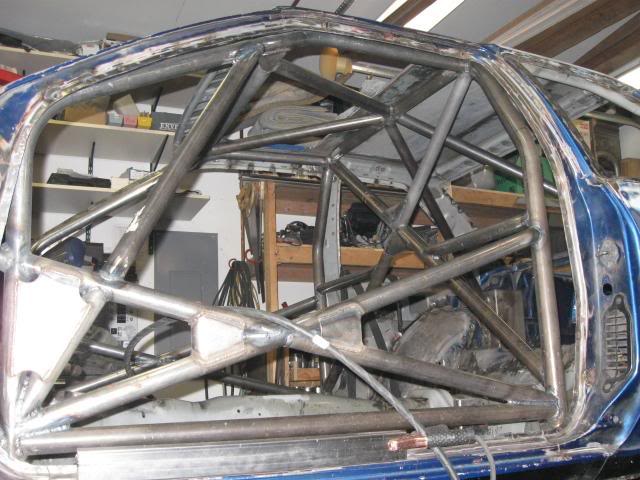
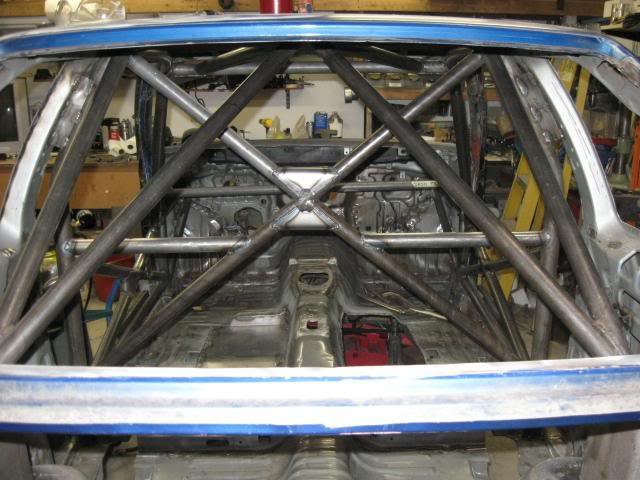
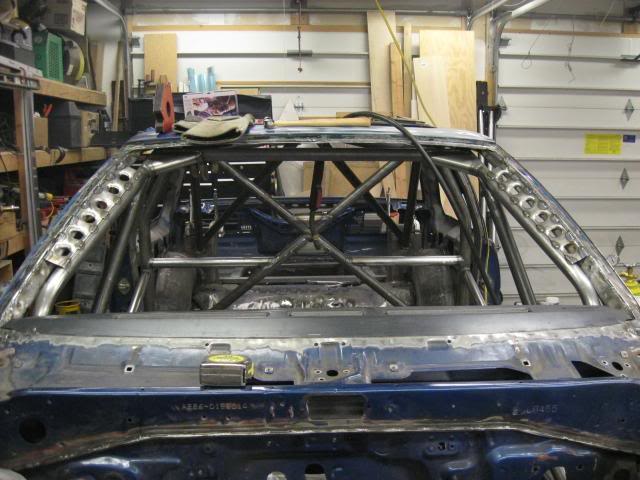
Well, its logbooked!
I just need to make 4 more gussets, then brace the A pillar to the half laterals, the B pillar to the main hoop, and possibly a few other spots.

I just need to make 4 more gussets, then brace the A pillar to the half laterals, the B pillar to the main hoop, and possibly a few other spots.
 Jul 9, 2009, 03:46 PM
#17
Newbie
Thread Starter
Join Date: Jul 2009
Location: Woodinville, WA
Posts: 30
Likes: 0
Received 0 Likes
on
0 Posts
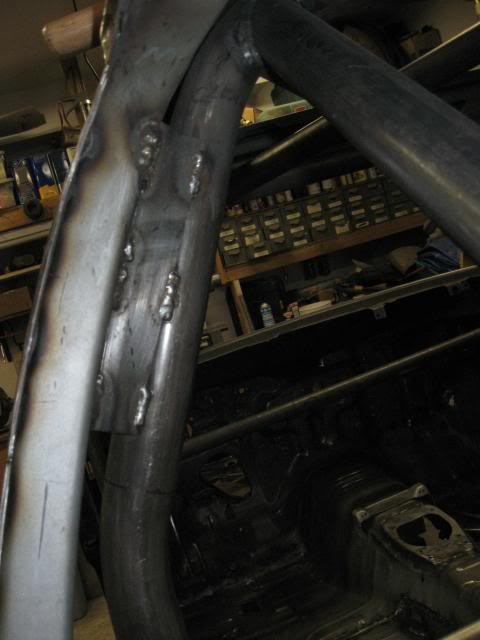
Here's what I did today, with some help of my friend. I taught him how to use my plasma cutter and let him loose on laying out and cutting these little guys.
There just some 18 gauge (I have lots of gusset material left over, haha) "house" shaped pieces, I clean the edges up and then bend them in the brake. I did have to trim the passenger side one a bit to clear a firewall bump, and a stitch weld. Oh, and on the driver's side you have to be careful to make it so you dont weld over the steering column boot hole.
I still need to make the last few gussets for the roll cage, but plasma cutting the round parts owns me... so... it takes time, haha.

 Jul 9, 2009, 03:48 PM
#21
Newbie
Thread Starter
Join Date: Jul 2009
Location: Woodinville, WA
Posts: 30
Likes: 0
Received 0 Likes
on
0 Posts
How it will connect to the dashbar...
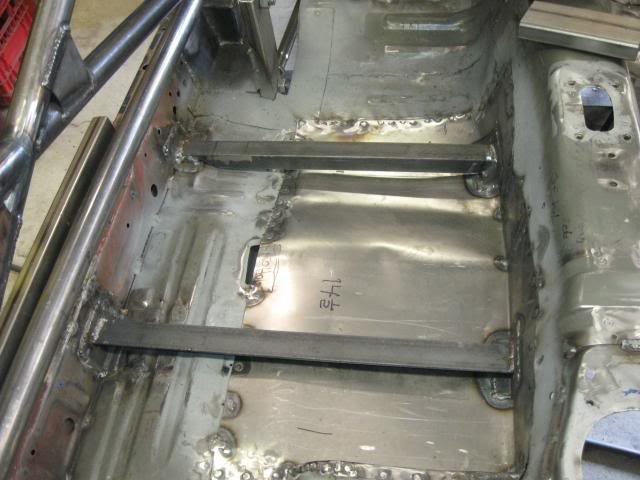
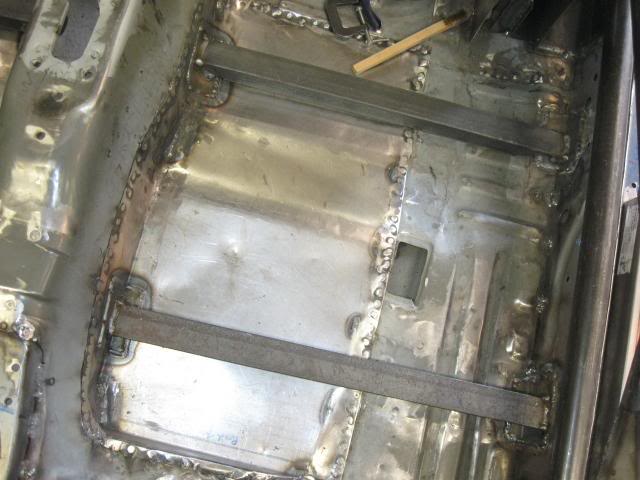
Seat mount "frame" bars IN
Seat mount's figured out (corollas suck for race seats...)
Dash acquired and cut to fit, one bracket fabbed, need a few more
Front Pin mounts done
Rear pin mounts have the hole drilled, and thats it
Dash bar located and welded.
Steering column attachment fabricated. Half attached. Kind of.
A pillar gussets fabricated and installed
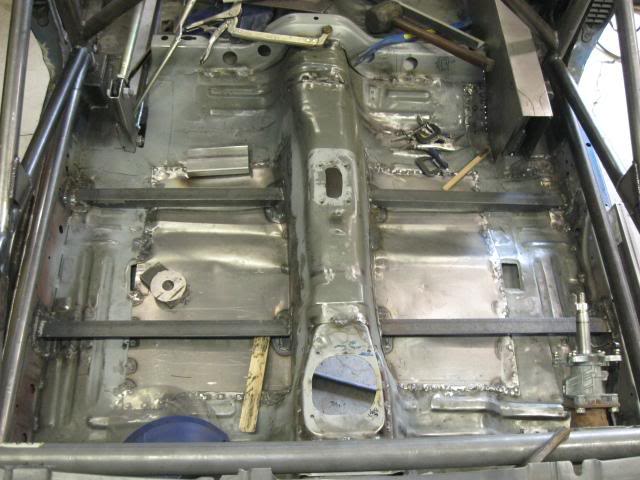
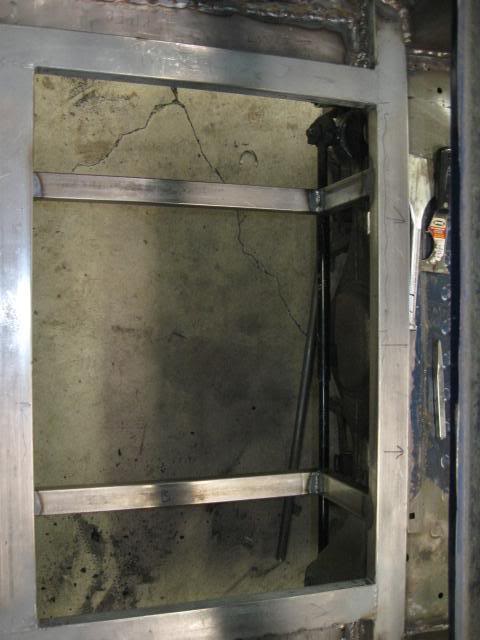
Fuel cell cage IN
Trunk floor patched around cell cage
I'm sure im missing something, but there is the gist of things
Jul 9, 2009, 03:49 PM
#22
Newbie
Thread Starter
Join Date: Jul 2009
Location: Woodinville, WA
Posts: 30
Likes: 0
Received 0 Likes
on
0 Posts
And a bit more progress...
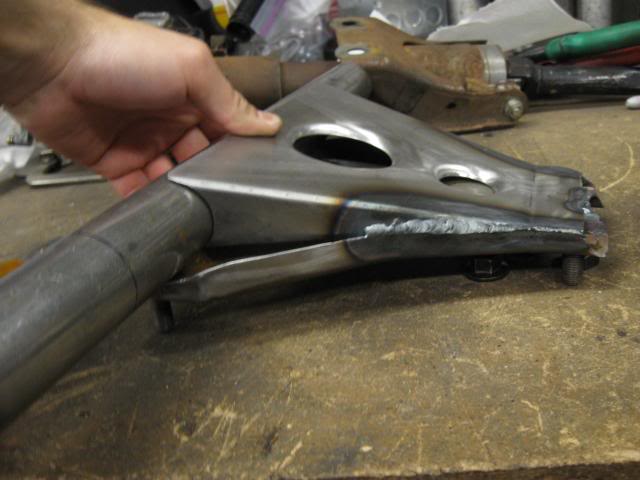
My Dad has been feverishly working on the brake pedal while I've been working on all sorts of other stuff... He's gotten the balance bar adapter in and welded, and tacked the frame up for me to weld. I'll get some more pics of the assembly when its right prior to paint, and after.
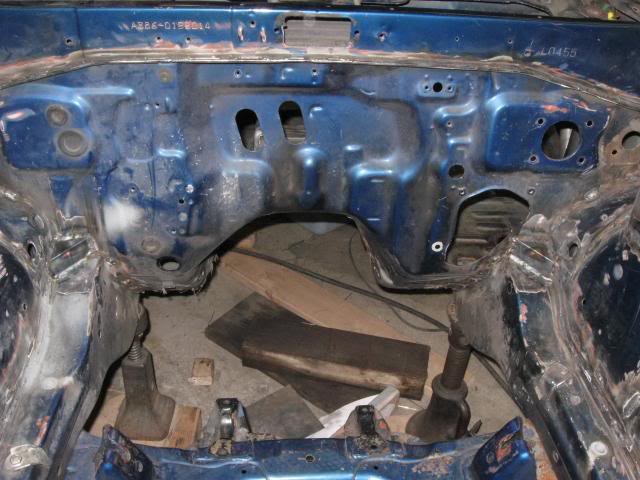
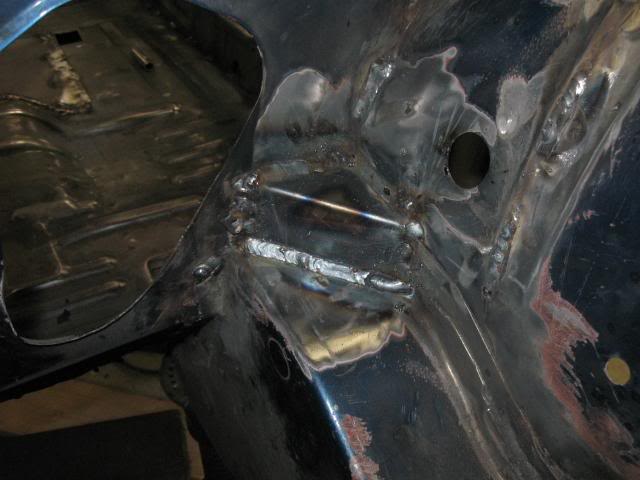
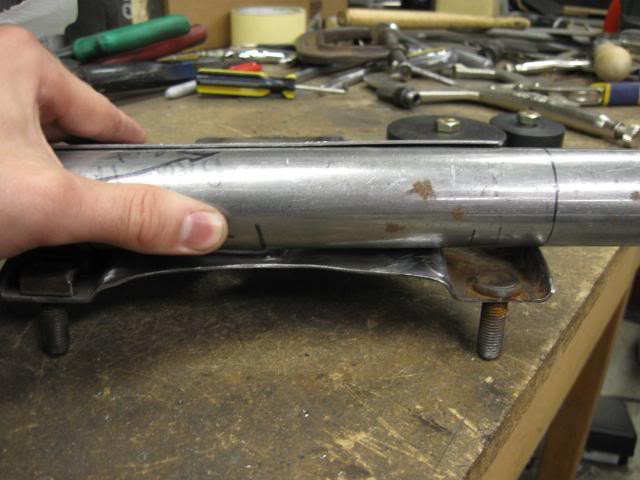
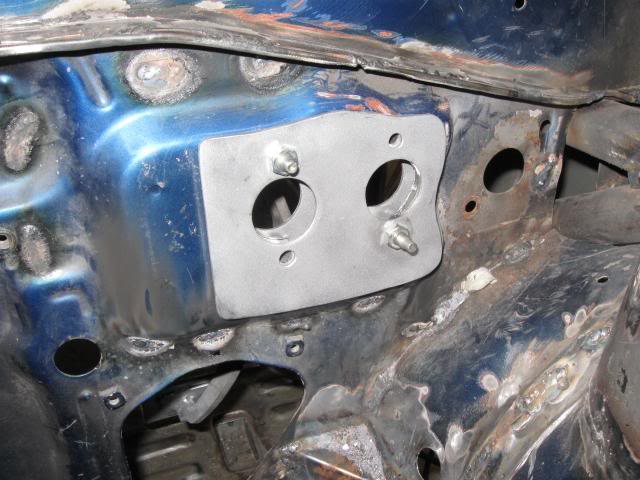
Here is the pedal, ready for paint and finishing, but i was checking clearance for the steering column. Everything was good!
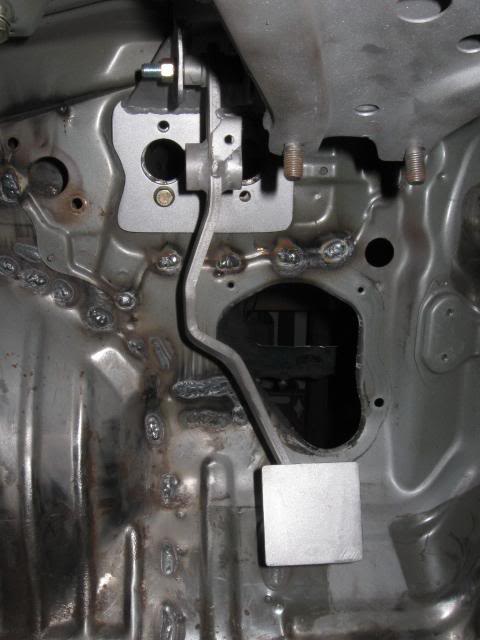
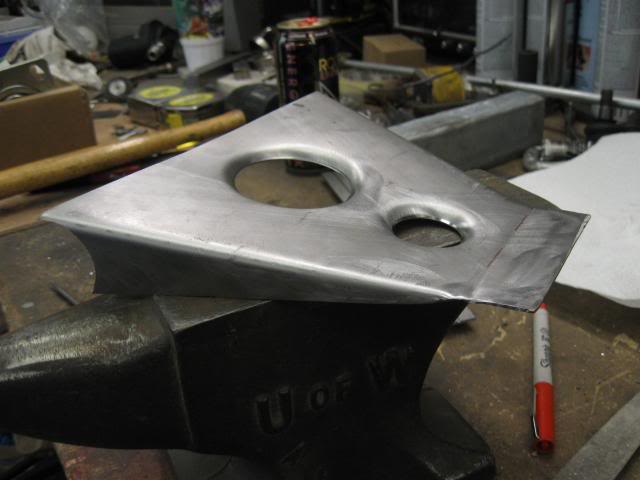
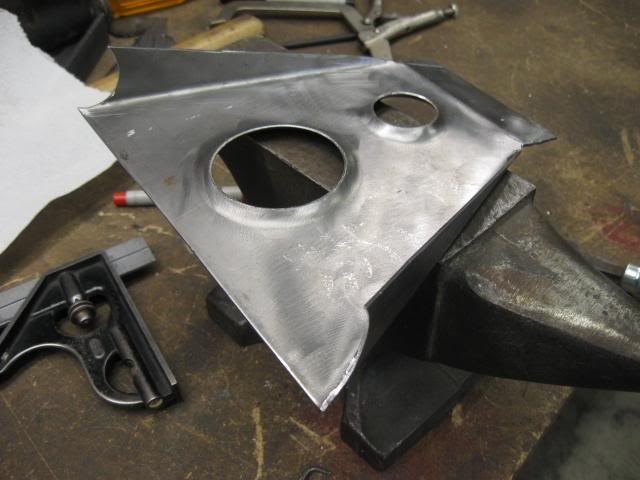
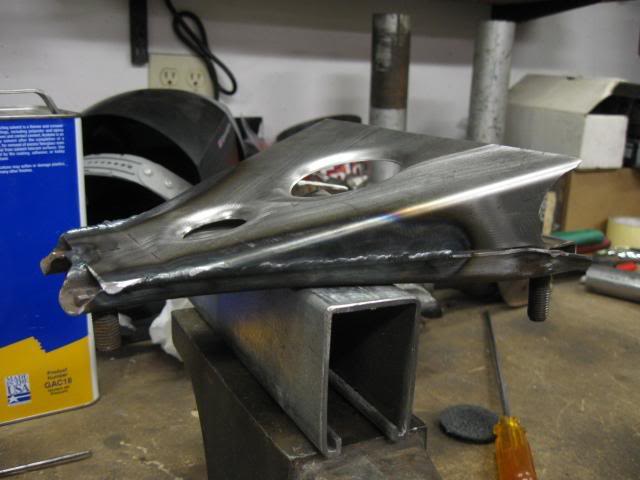
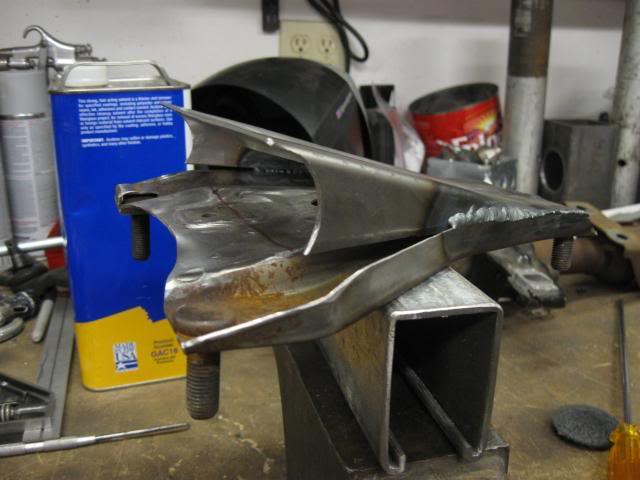
And the reinforcement plate for the firewall, well, at least part of it... I may be running a small tube to the strut tower depending on flex.
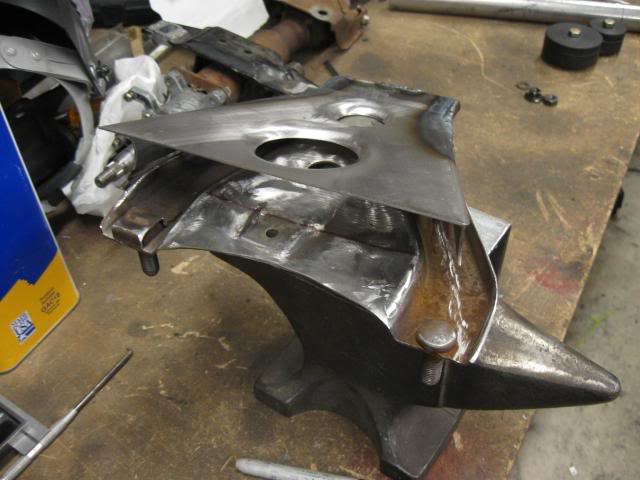
Here is the bracket I fabbed for the steering column
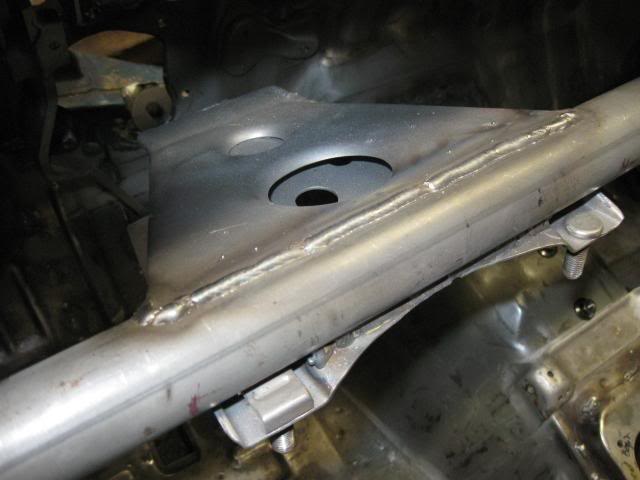
Its finally living in it's little home...

I'll get some more pics soon.
Jul 9, 2009, 03:49 PM
#23
Newbie
Thread Starter
Join Date: Jul 2009
Location: Woodinville, WA
Posts: 30
Likes: 0
Received 0 Likes
on
0 Posts
Well, got the dead pedal fabbed and installed today.

Dead pedal
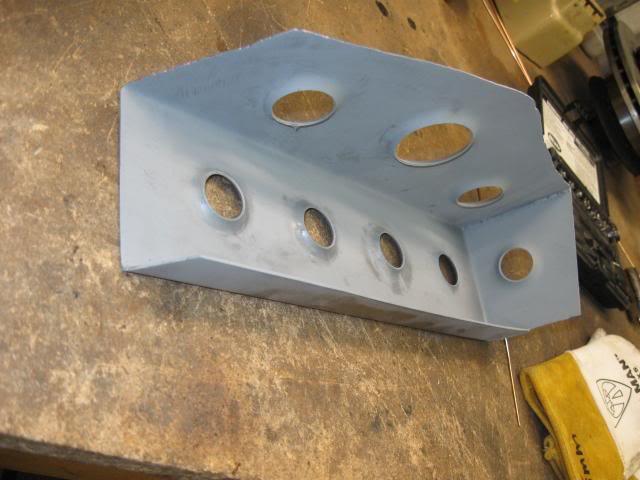
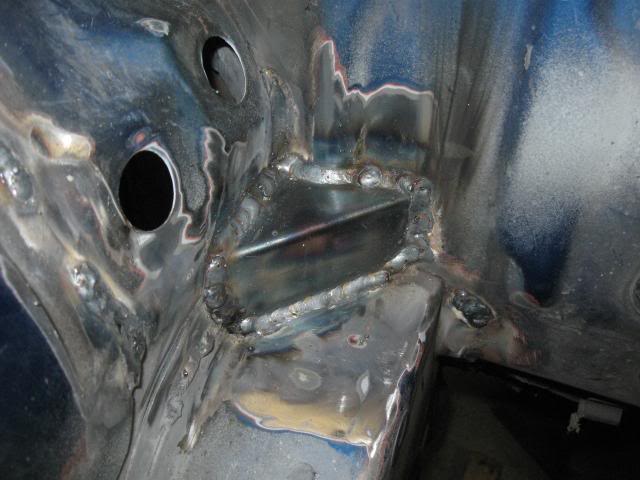
Inside... sprayed with weld thru primer to help keep rust down. I forgot to do this to the steering column bracket. Oops
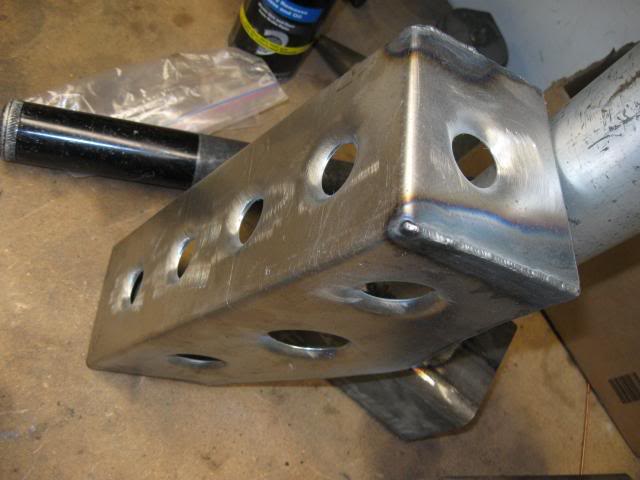
Tig welded top. Kinda tall welds... too much rod

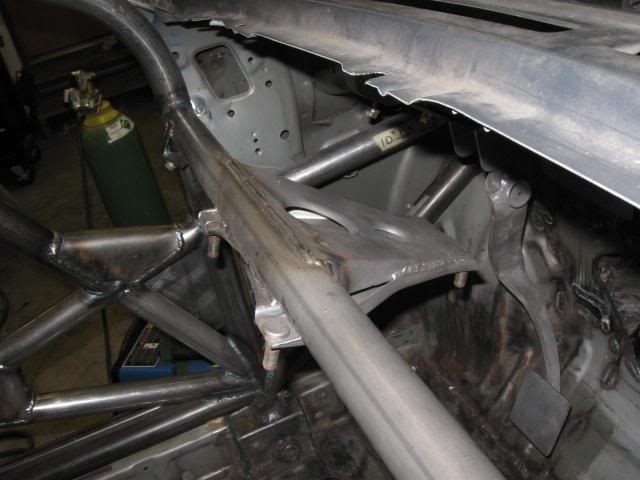
checkin out its home
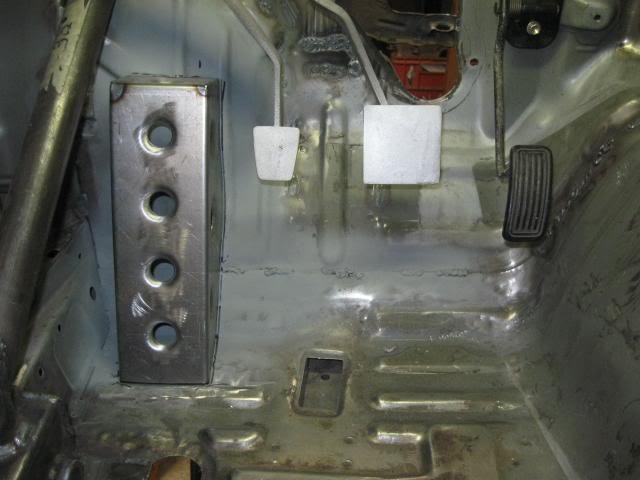
gotta check the angles out
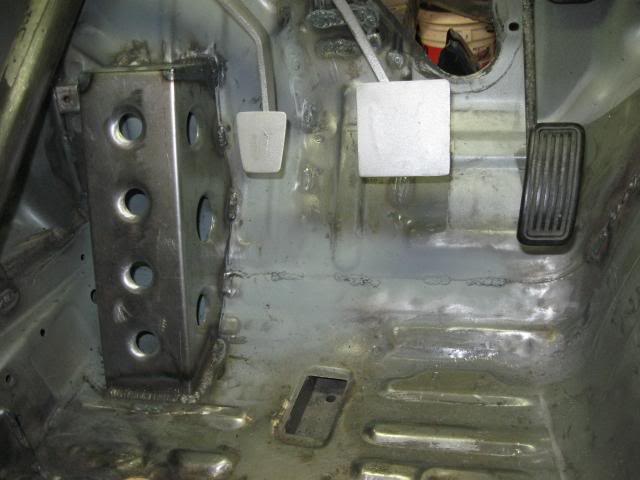
Its moved in!
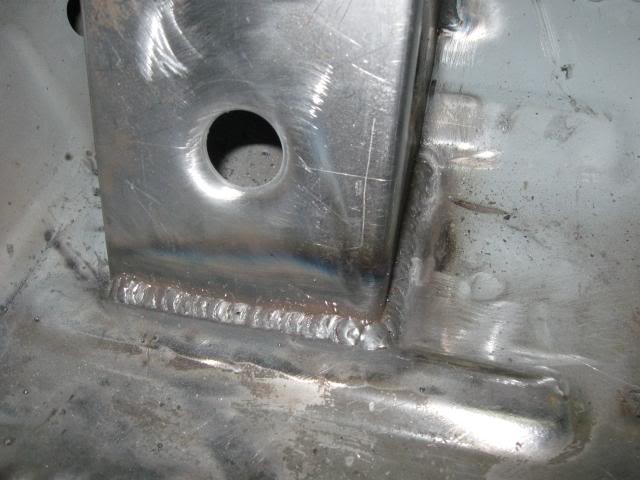
Solid foundation
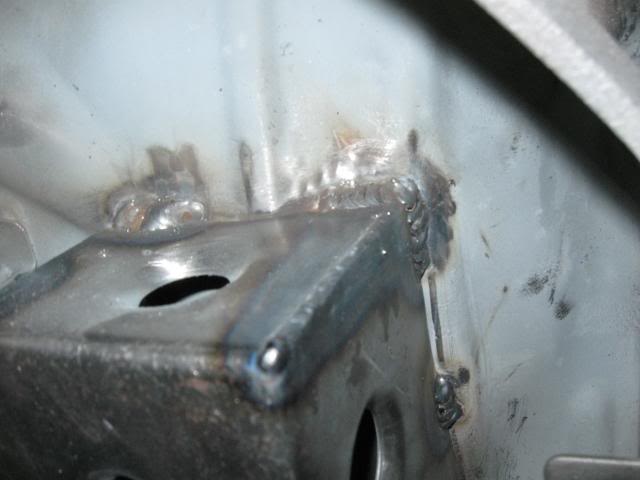
Strong attachment up top
That's pretty much all I did today. I moved a bunch of stuff around so I can finish building the rotissorie to finish the underside of my car. Overkill? probably, but hey, the metal was free.
Dead pedal
Inside... sprayed with weld thru primer to help keep rust down. I forgot to do this to the steering column bracket. Oops
Tig welded top. Kinda tall welds... too much rod
checkin out its home
gotta check the angles out
Its moved in!
Solid foundation
Strong attachment up top
That's pretty much all I did today. I moved a bunch of stuff around so I can finish building the rotissorie to finish the underside of my car. Overkill? probably, but hey, the metal was free.
Jul 9, 2009, 03:50 PM
#24
Newbie
Thread Starter
Join Date: Jul 2009
Location: Woodinville, WA
Posts: 30
Likes: 0
Received 0 Likes
on
0 Posts
So thats where I am now. I'm almost ready to get the car upside down to finish a bit more fab work. As I put the pictures up here, I noticed there are a lot that I dont have up, like the 4 links and the turrets. I'll have to get some of those.


 Jul 9, 2009, 04:48 PM
#27
Newbie
Thread Starter
Join Date: Jul 2009
Location: Woodinville, WA
Posts: 30
Likes: 0
Received 0 Likes
on
0 Posts

lol
I'm actually going up to a some suby dyno/shop opening thing with my cousin today. But I'll get SOME work done tonight. Maybe I'll throw up some CAD drawings of stuff im working on...