
What is Klipper?
Klipper is a unique firmware that alleviates the computational work from the mainboard, and instead allows a much more powerful processor to perform those operations, leaving the 3d printer’s mainboard to simply execute movement commands. This allows faster and more precise printing. In this video I cover the installation of Klipper with the Voxelab Aquila. While the video is Aquila focused the large majority of the video pertains to any printer, because installing Klipper on a secondary MCU (microcontroller) is the same regardless of the 3d printer. The areas of difference are the FIRMWARE IMAGE and the PRINTER CONFIGURATION. All of my examples for these two areas are listed in the sections below. I also have a section for MACROS. Macros are words or phrases the printer uses as shorthand to execute a block of commands. Most of these macros are present within a stock printer configuration file, although some (like adding a bl touch for example) will need to be added, and the macros I have listed can be used. I think you will find Klipper a very flexible firmware, as once you understand the language used within the printer configuration file (known as a printer.cfg) it will open a lot of shortcuts and customization for you. Klipper also does not require any compiling or flashing whenever a change is made to the printer, like increasing the max temperature for instance. The key components for your printer are kept within the printer.cfg, which is a text document, and a simple SAVE AND RESTART will update your firmware and allow your printer new modifications and customizations in an instant. I hope you enjoy this new firmware and as always if you have any questions or issues PLEASE CONTACT ME.
**As with most things you find on the internet, especially for free, download and install any or all of these files and profiles at your own risk. Due your diligence and make sure the steps you are taking are all correct for your machine. PrintsLeo3D takes no responsibility for any harm this may cause you or your 3d printer, please proceed with caution!**
FIRMWARE
to be flashed onto the 3d printer mainboard
Installing Klipper is a two step process. The first is installing Klipper onto a secondary microcontroller(MCU), like a Raspberry Pi. That procedure is the same regardless of what printer the MCU will be working with. The step that is unique to each 3d printer is CONFIGURING A FIRMWARE IMAGE FOR THE PRINTER’S MAINBOARD. When flashing Klipper onto the 3d printer all Klipper cares about is the mainboard that resides within it.
If you have an SKR Mini E3V3(aftermarket mainboard) inside your Voxelab Aquila, then you will need to flash an image for the SKR MINI E3V3. The ‘printer’ is a Voxelab Aquila, but your flashing the mainboard, and that is an SKR Mini. The area within Klipper that’s concerned about the physical printer (Voxelab Aquila in this example) is the printer configuration file (see section below). Here is a list of all the firmware image files I have flashed for my printers. While installing Klipper onto your secondary MCU you can create this firmware image for your 3d printer(follow the video linked above), but if you don’t want to create it for yourself and just want to download a file that is ready to flash then these are available to you.
Configurations (examples)
AKA printer.cfg files
The Configuration file is what Klipper uses to distinguish the different parts of your printer. This simple text document houses information such as stepper motor values, max temperature, build size, auto bed levelling information, etc. Most 3d printers have a stock printer configuration that can be customized for your individual printer. Klipper has a rich library of these files that can be found here. Here I am providing the configuration files for the printer’s I am using. These may not be completely suitable for your printer so go through them, take parts you want, and curate others.

Macros
(insert these into your printer.cfg)
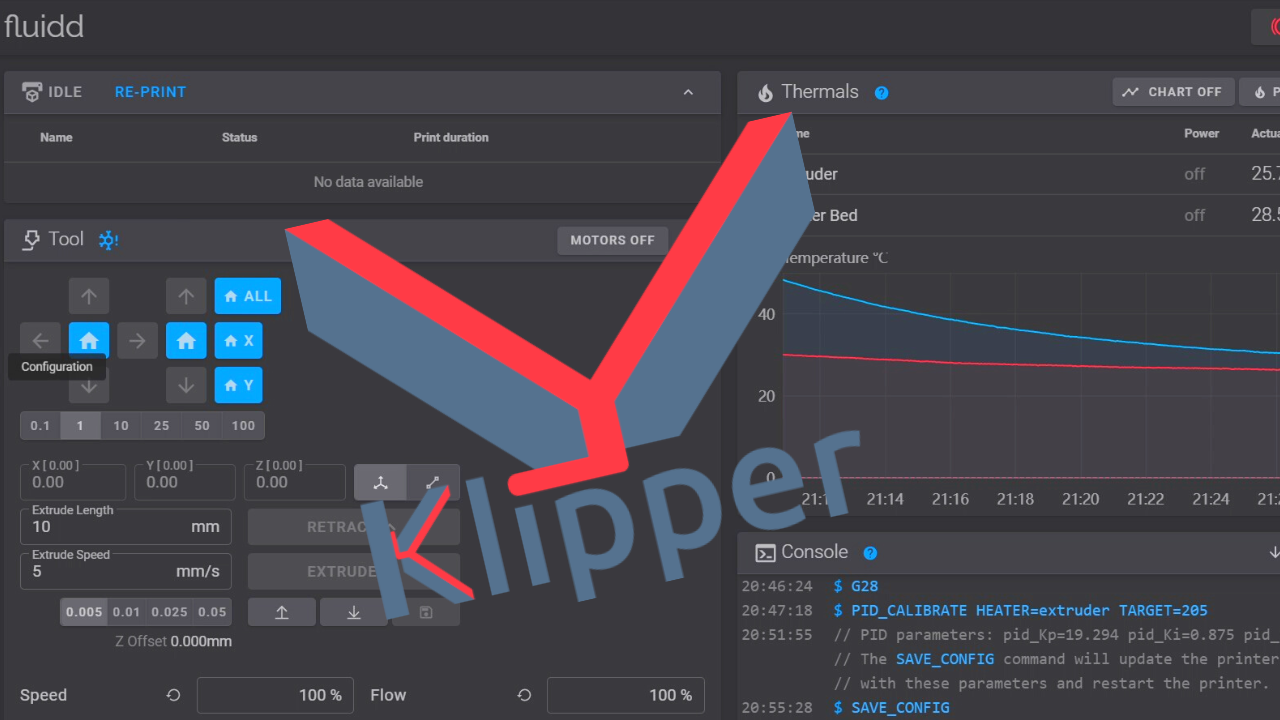
By creating macros we instruct our printer to carry out a section of code whenever it encounters the word or phrase in the Gcode. Also, a button is created on the Home page of your front-end (fluidd, mainsail, etc), where it can be activated with a simple click of that button.
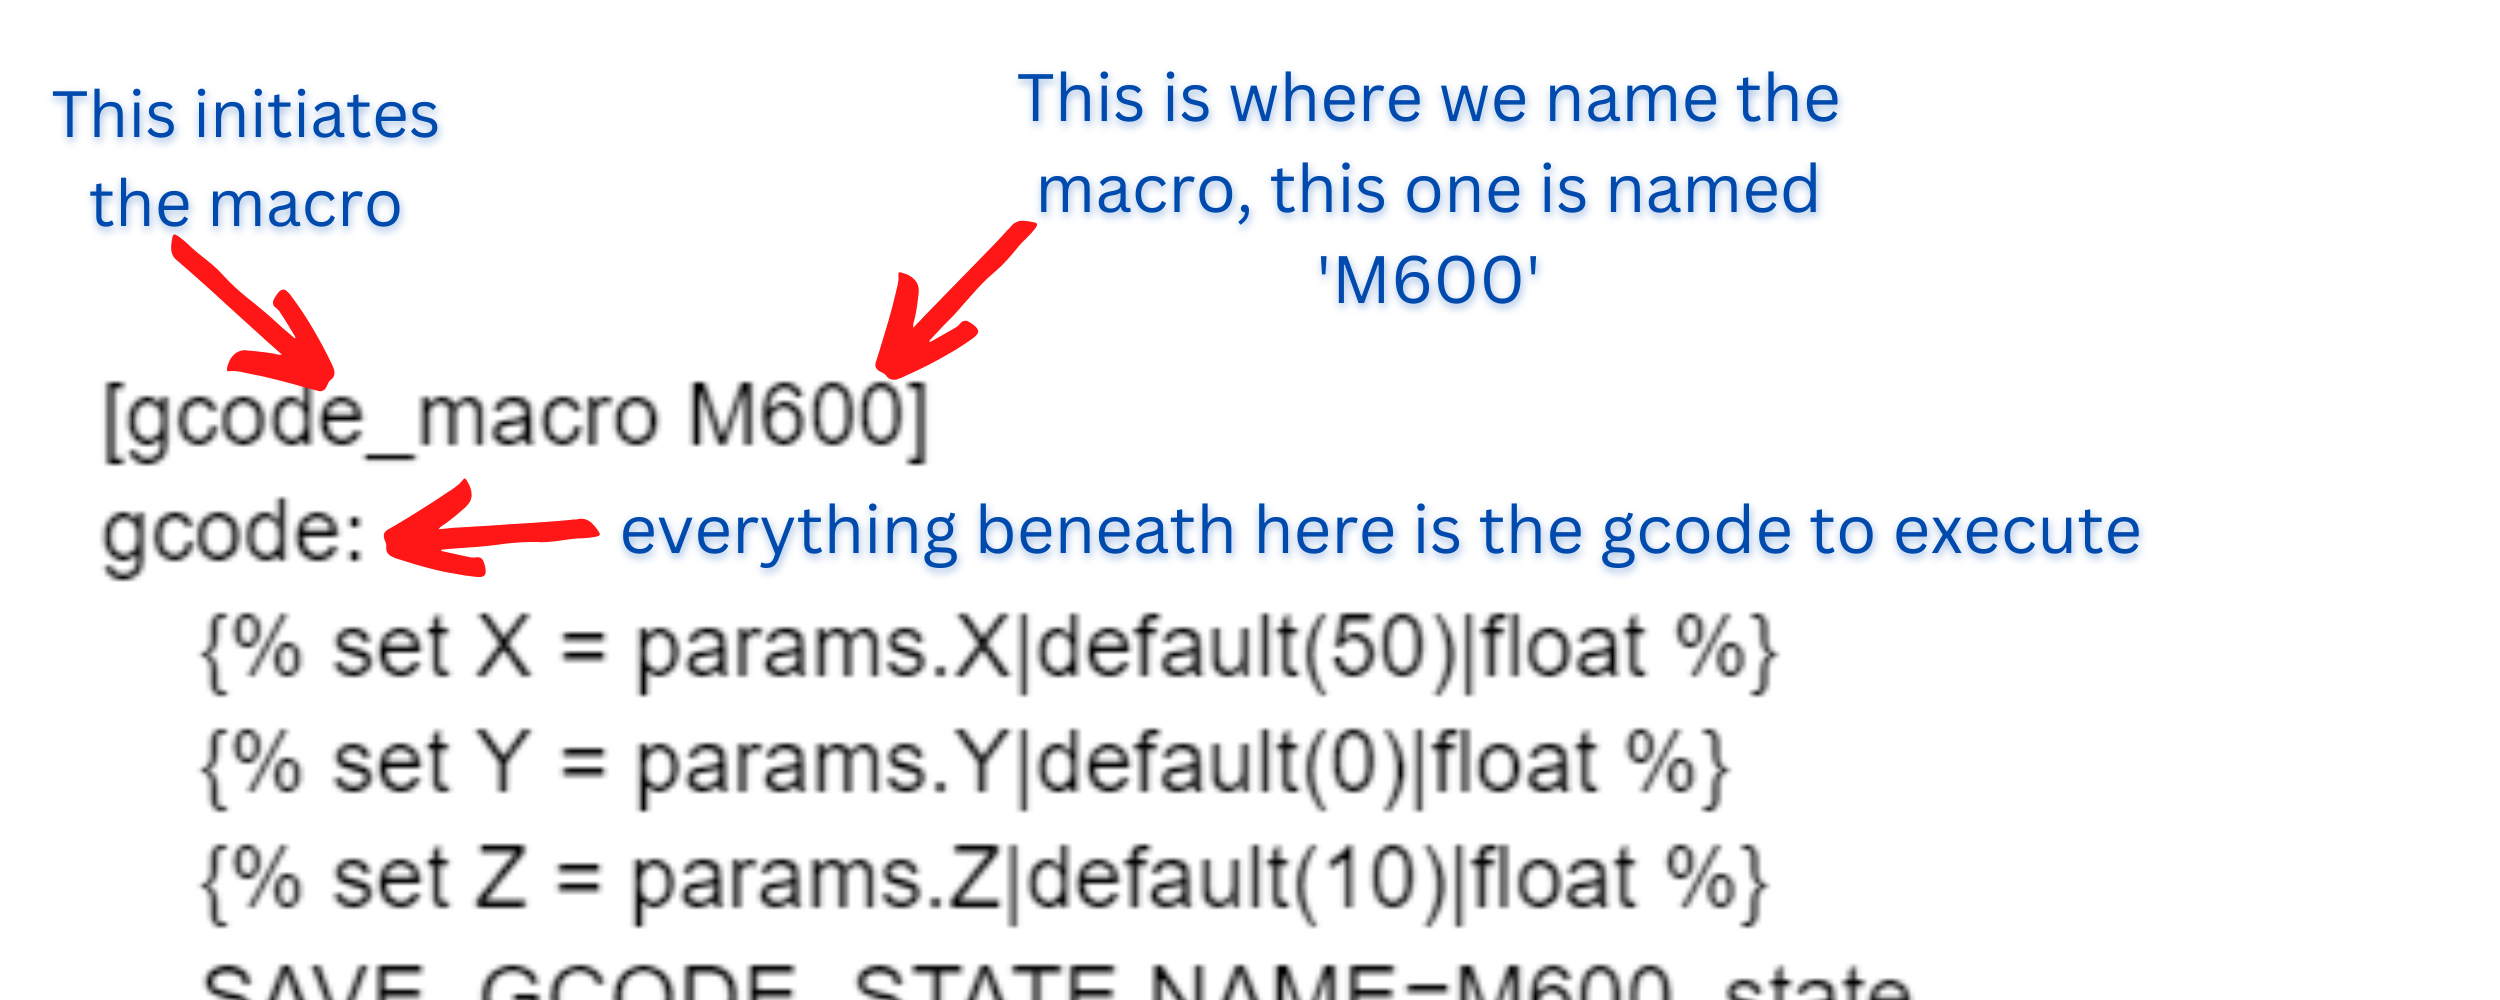
In Marlin, the gcode that represents a filament change is M600. Klipper does not know what M600 means. There’s a lot of slicers (cura for one) that insert filament change commands for you while you slice your model. That means M600 will be inserted into your gcode at the areas you want the filament to change. In order to take advantage of this while using Klipper we’ll create a macro that does the same exact thing whenever it reads the M600 line. So we name the macro M600, and then we tell it how we want it to change the filament! And this can be dynamic, we can change this macro up at anytime to better suit are needs. This is only one way we can leverage macros!